-Final reflection of digital photography one-
 (First photo I took)
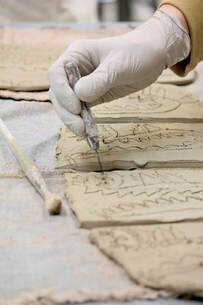
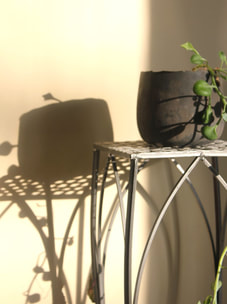
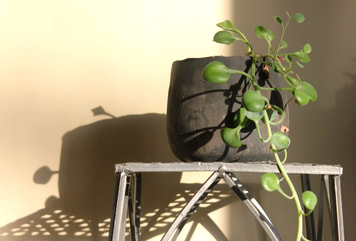
Coming into digital photography on the first day, I knew close to nothing about cameras. I wasn't aware of the word "Photo Composition" or what it added to pictures at all. To say the least, the most basic camera settings didn't make sense to me. I didn't know how to use them either.
Taking digital photography has helped me create better photos in so many ways. For example the first photo I took was in my friends pottery class. Though it's not devastatingly bad, my ISO was set to 1000, my shutter was 1/250 and the aperture was f/4.5. The settings (except ISO) were genuinely reasonable, but I still had no clue how they effected my photography. My main focus point was off as well. Then, when we started learning about the functions of a camera, things started to click. I understood when to use a higher/lower ISO, aperture and shutter. I became more satisfied with the photos I was taking, though I still wanted to improve.
After Composition one and two, we were started the process of weekly photos. During the transition, we learned about movement, lighting, angles and more. I was pushing myself with each week on how I could better my photos. I found that I appreciated photography more and enjoyed taking photos now that I somewhat knew what I was doing. This class helped me understand photography better and showed me to a whole new aspect of art.

(best)
|

(worst)
|
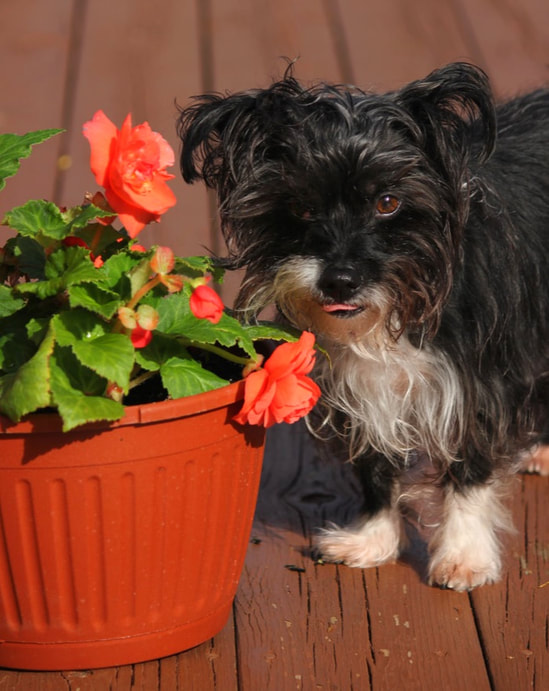
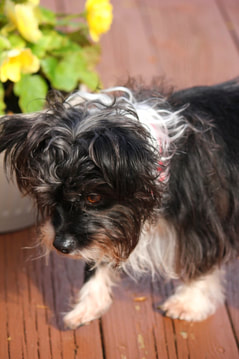
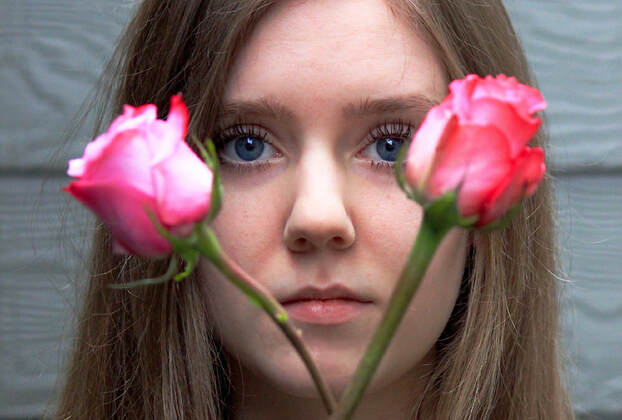
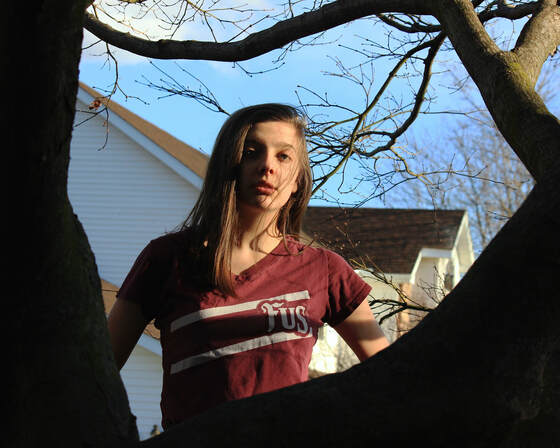
These are the photos that I think are the best (left) and worst (right).
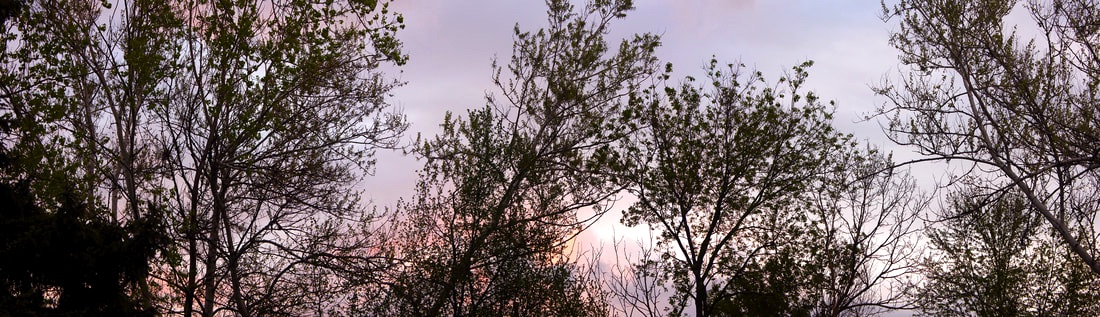
The right photo was part of composition, the first series of photos we took. My ISO was on the second highest setting for my camera of 1600 when it should have been on 100. At the time, I didn't know what the ISO was and it showed. The sky is over exposed, the trees are in focus when they shouldn't be and the overall photo is bad quality.
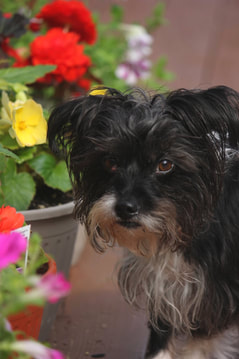
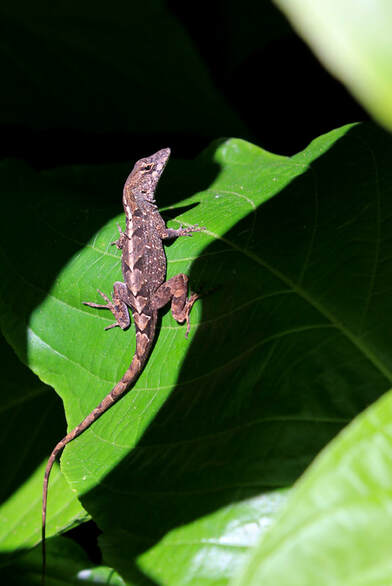
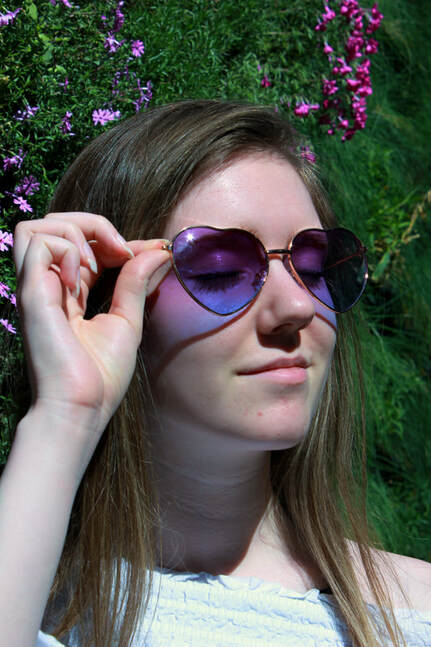
The left picture was my third weekly photo, the theme was Animals. At this point, I was very familiar with the settings and composition. I believe it's my best as the ISO being at 100, the aperture being 1/4.0 to make it more of a portrait, and the shutter at 1/400 to compensate for the low ISO and aperture made it a better quality picture. It came out contrasted and clear as Maggie is facing me, with the flowers adding a bit more colour to it too.
The right photo was part of composition, the first series of photos we took. My ISO was on the second highest setting for my camera of 1600 when it should have been on 100. At the time, I didn't know what the ISO was and it showed. The sky is over exposed, the trees are in focus when they shouldn't be and the overall photo is bad quality.
The left picture was my third weekly photo, the theme was Animals. At this point, I was very familiar with the settings and composition. I believe it's my best as the ISO being at 100, the aperture being 1/4.0 to make it more of a portrait, and the shutter at 1/400 to compensate for the low ISO and aperture made it a better quality picture. It came out contrasted and clear as Maggie is facing me, with the flowers adding a bit more colour to it too.
Now at the end of the trimester, I can see within each picture how much I've learned. Comparing my first to my last, there's a huge difference. Not only has this class taught me about the basic photography skills, but also photoshop. I'll admit it wasn't my favourite, however, I definitely wouldn't have been able to edit photos and use other skills without this class. I'm overall very proud of my progress, I hope there will be more in the future as I keep learning through trial and error about photography.
-puns & visual dictionary-

Take a seat, Cat's Whiskers & Brain Storm
For this assignment, we were asked to make three visual puns using the internet & photoshop. I got my inspiration off of pintrest ideas that were similar but not exact. In my first "Take A Seat" pun, it's of a student literally taking a chair (seat). In my second "Cat's Whiskers" pun, the cat's whiskers are shown to be the kitchen tool, whisk. In my third "Brain Storm" pun, it's pretty self explanatory, a common pun of a brain in a storm.
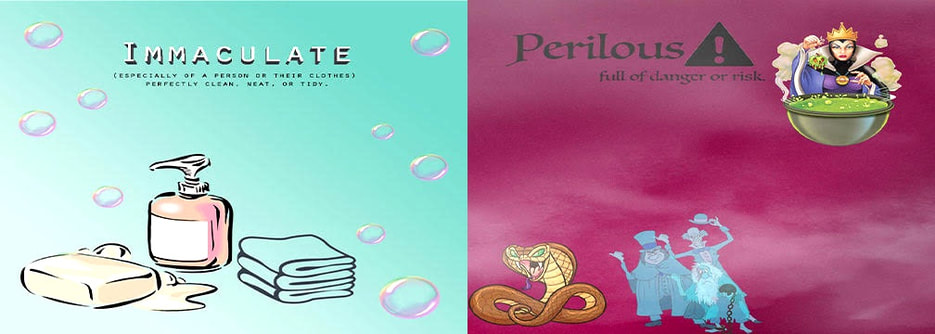
Immaculate & Perilous
In the Visual Dictionary assignment, we were instructed to choose two specific words or phobias that some people might not know. Then, add in photos that represent the word and define it too. My first word "Immaculate" is defined as "(Especially of a person or their clothes) Perfectly clean, neat or tidy". The the photos I chose were soap bubbles, bar & bottle soap & neatly folded towels.
My second word "Perilous" is defined as "full of danger or risk". I added photos of the Evil Queen from Snow White poisoning an apple, a venomous snake & ghost characters from The Haunted Mansion.
My second word "Perilous" is defined as "full of danger or risk". I added photos of the Evil Queen from Snow White poisoning an apple, a venomous snake & ghost characters from The Haunted Mansion.
-portrait demo-
In this assignment, we were supposed to take a studio photo & a natural lighting photo. For the natural light, we were given a board to bend the light towards the main subject. Then, with photoshop, we were to put them side by side with identical border cropping.
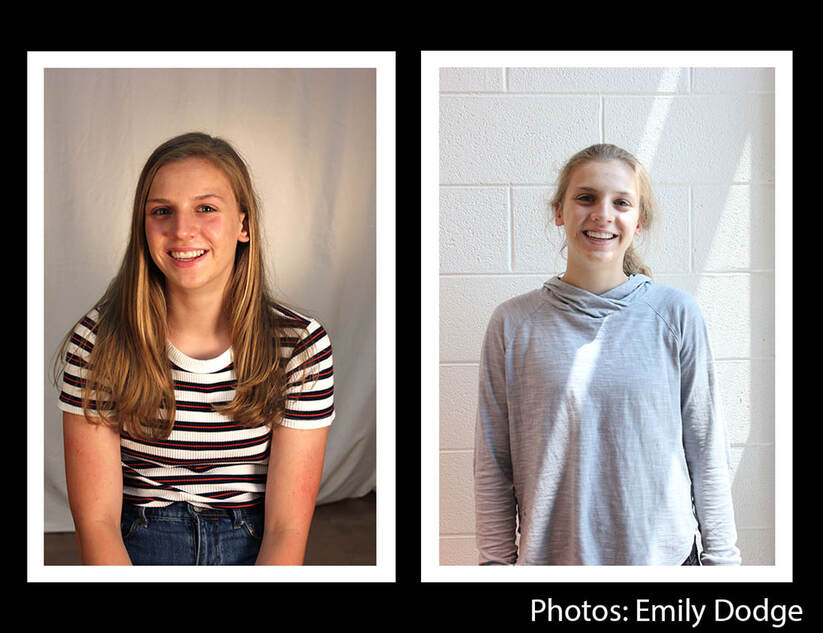
<---- 1/80 f5.0 ISO 400 // 1/160 f4.5 ISO 200 ---->
From this assignment, I learned how to resize and image and the canvas. I also learned the difference a studio setup has on a photo vs. how natural lighting affects a photo. Trying to take the photo along with getting the lighting right was difficult. Overall, I think the picture as a whole turned out good but I could've fixed the lighting in the second photo.
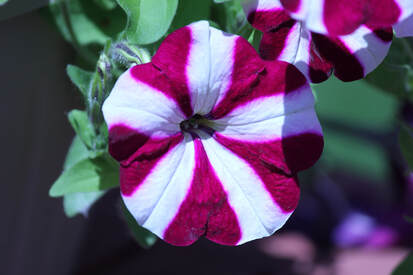
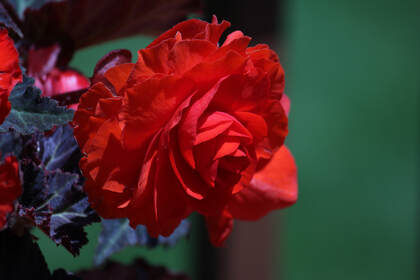
-nature-
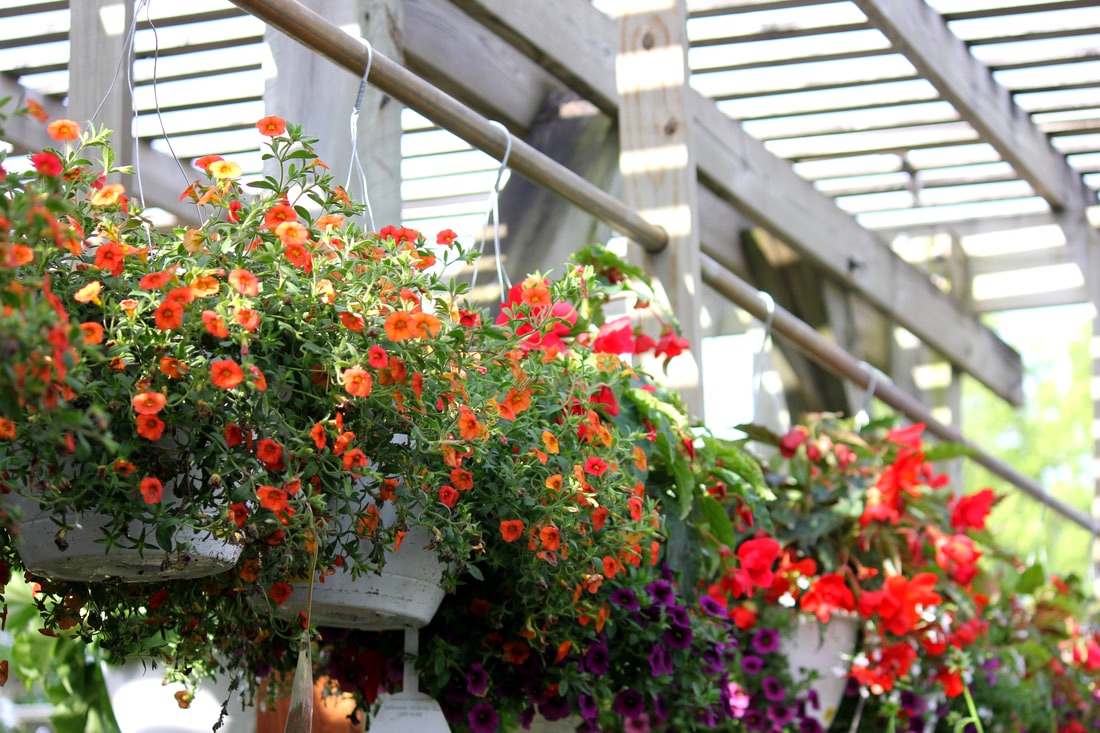
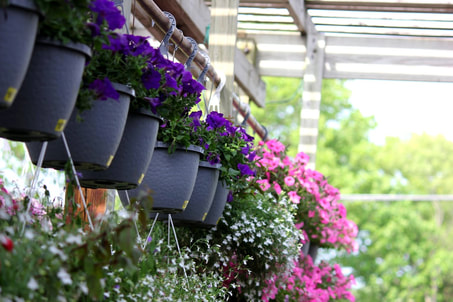
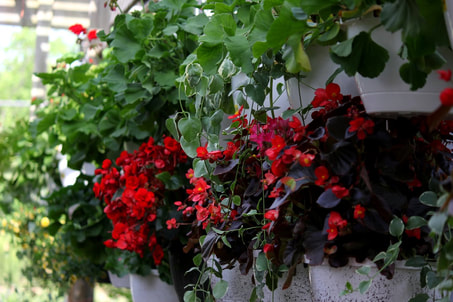
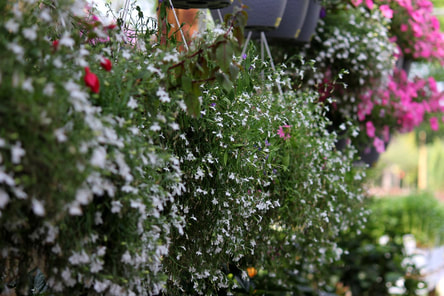
1/250 f/5.0 ISO 100
For nature, I went to KBK Nature Center. They had a range of plants, flowers, trees and some shrubs. Most of the photos I took was focused around the floral part of nature. It was a bit cloudy and the sun would go away at times so I had to adjust a lot of my photos to that. In the end, they turned out pretty well though I could've taken more photos that included trees.

|
|
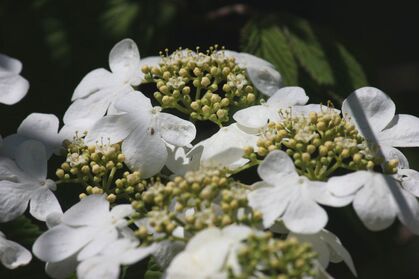
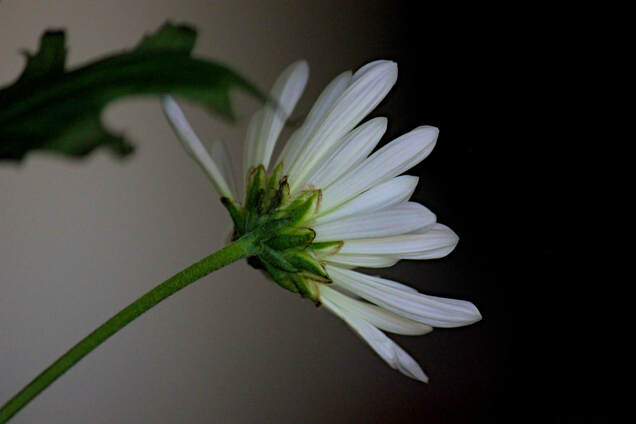
-macro-
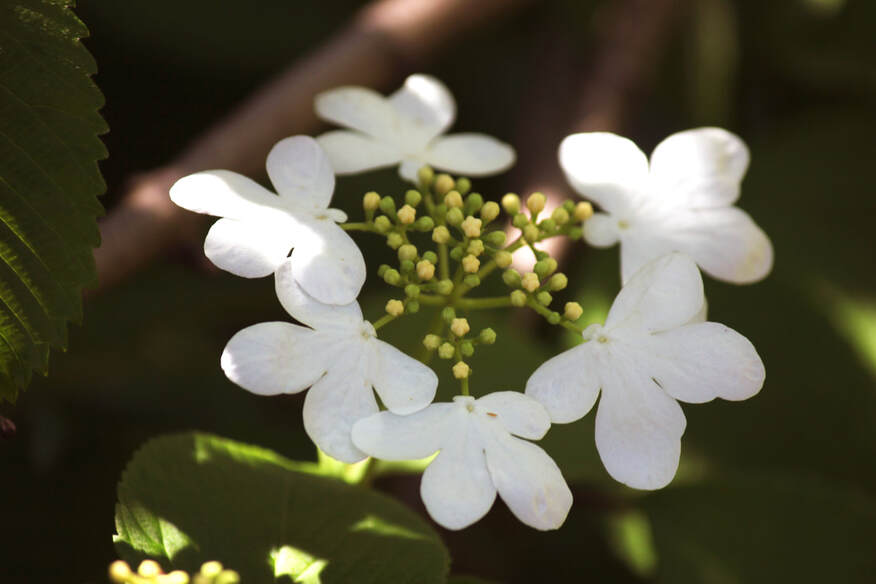
1/200 f/5.6 ISO 100
During the spring, these white flowering blossoms bloom. For taking macro photos, I'm able to get the texture of the petals and also the budded flowers that are in the middle. What was difficult was trying to get the right shading/sunlight as it was constantly changing from the clouds. Overall, I think this turned out fine but I could have thought about different angles.
|
|
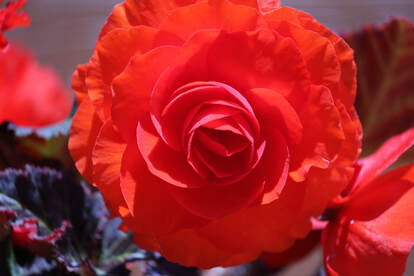
-still life-
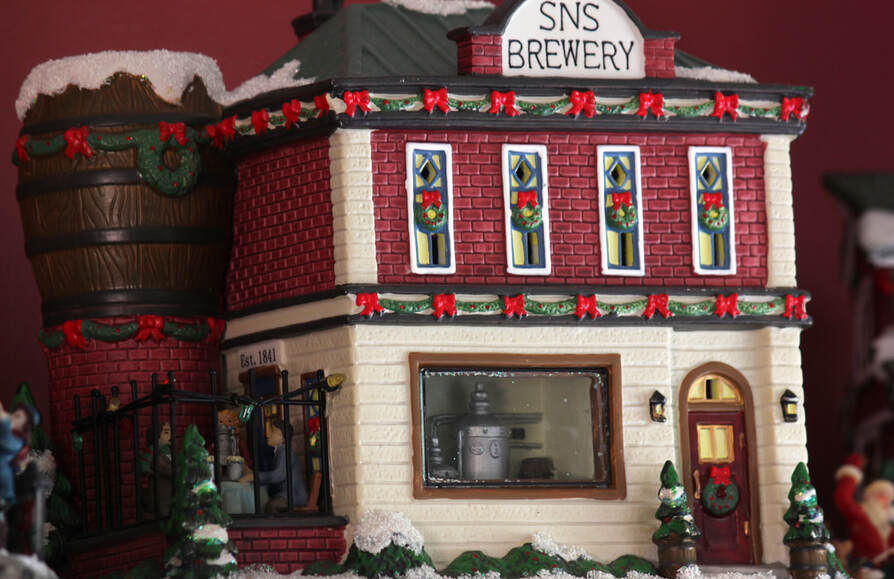
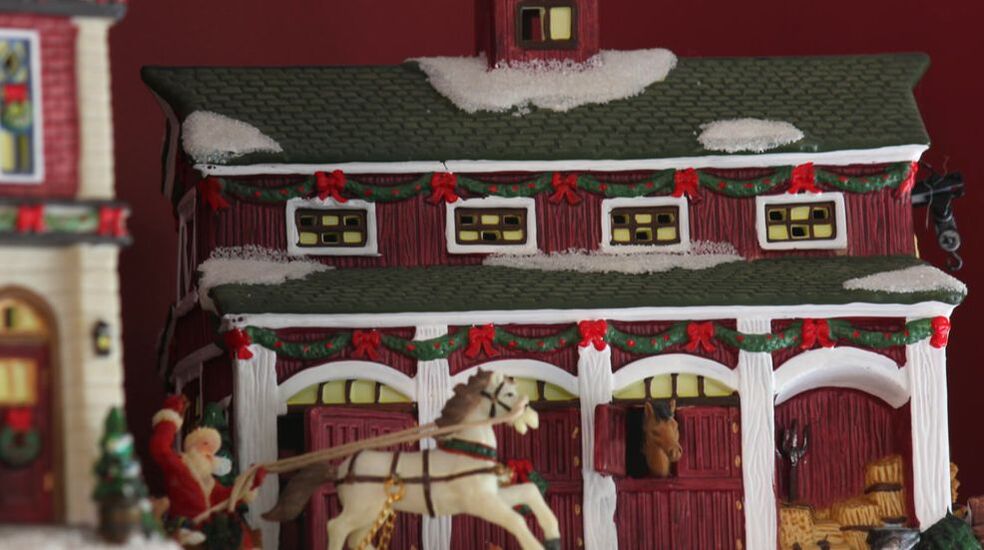
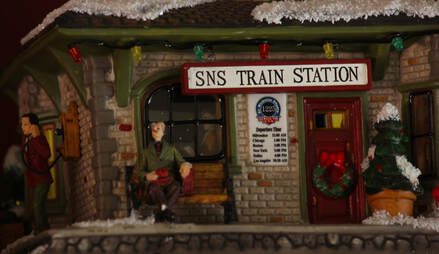
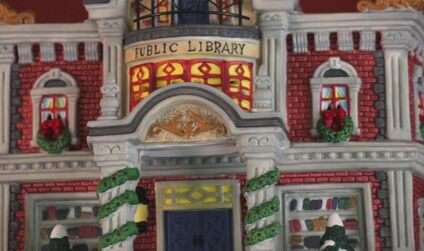
1/6 f8.0 ISO 200
For still life, I chose to take pictures of these little clay houses. There's people that fit in with them so I thought it would work to look like a little village. It was indoors and it wasn't too bright out so the shutter speed had to be relatively low in order to let in enough light. I set my camera up on a tripod as well so the photo wouldn't come out looking shaky.

|
|
-multiple me-
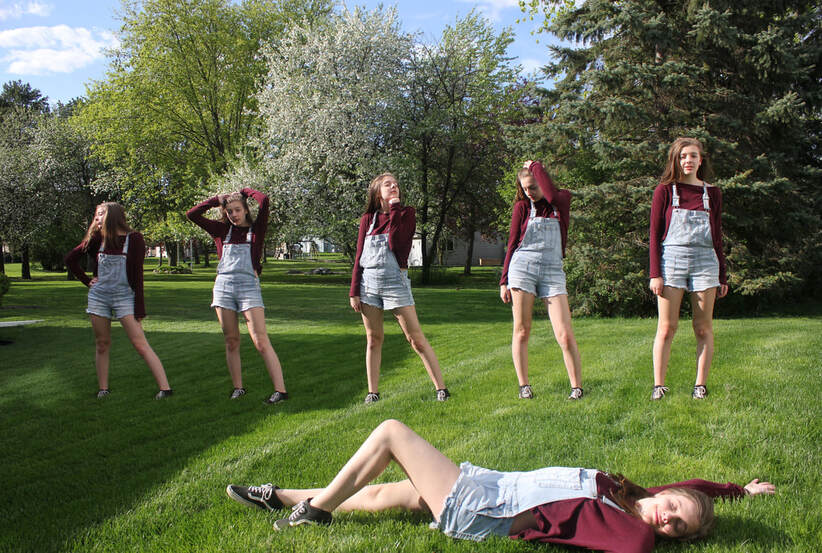
1/500 f/5.0 ISO 100
Taking these photos for multiple me was actually a lot simpler than I thought. We had to set our cameras up on a tripod, tell the main focus where to go and how close/far from their last position and take the photo. When taking the photos, I had to make sure that my manual focus was on so it would be easier to manipulate the photos later and to take them quickly so that the lighting didn't change.
-Panoramic-
1/40 f/4.5 ISO 100
For our panoramic assignment, we were told to have taken sets of photos that would be merged together to form one, long panoramic. It was heavily encouraged that we use a tripod & that's probably the best choice for a stable photo & smoother photoshopping. The photo I took were a set of four photos, each other overlapped the other by about 40% which I think helped when photo-merging them together.
Using the photo-merging tool in photoshop was new but not hard to use, I think it'd come to use later in other photos.
Using the photo-merging tool in photoshop was new but not hard to use, I think it'd come to use later in other photos.
-shadows & light-
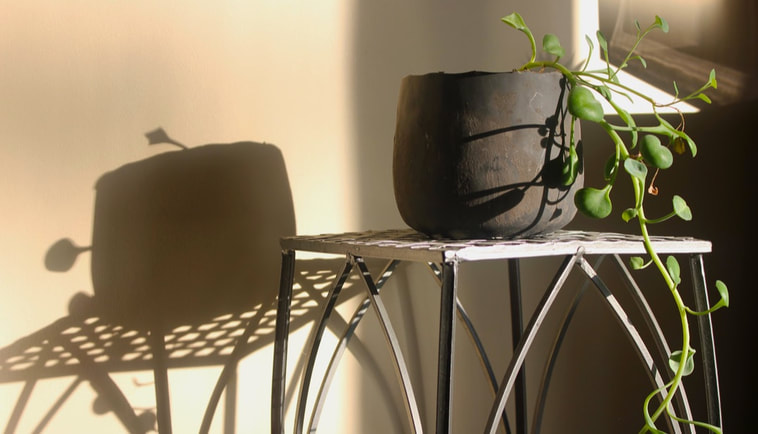
1/250 f/10 ISO 100
The main thing I wanted to accomplish in this photo was a simplistic look. While also getting the shadow, I didn't want too complicated of a photo. I waited until it was around seven to eight in the morning to take it so the morning light would better create the shadow. To me, it turned out well though I would like to experiment more with shadows & on light angles too.
|

|
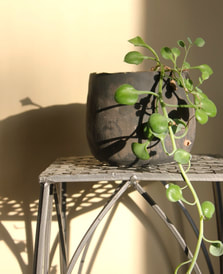
The only tricky part about this was deciding if I wanted the photo to be portrait or landscape & also where the shadow looked best.
-Animals-
1/400 f/4.0 ISO 100
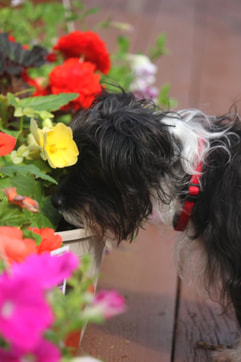
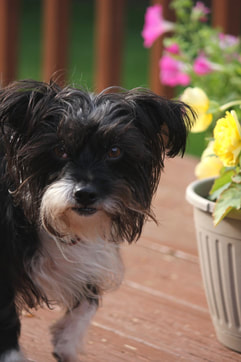
This next theme of Animals, I had my dog Maggie stand outside and sniff around some flowers. She's an exceptionally curious dog and does not like to stand still or face the camera. I had to reposition her multiple times so she'd be looking towards me and not away. That's where treats came in handy, I would place half a treat or two on a leaf so she'd be more interested in the flowers and it'd look like she's "smelling" them. I eventually just decided the best picture I took, was where she was only standing close to the flowers.
|
|
|
|
These were the other photos I'd taken, they weren't right though as the exposure was either too high or two low and I hadn't adjusted it right. Still, they're not bad.
-Black & White-
1/400 f/4.5 ISO 100
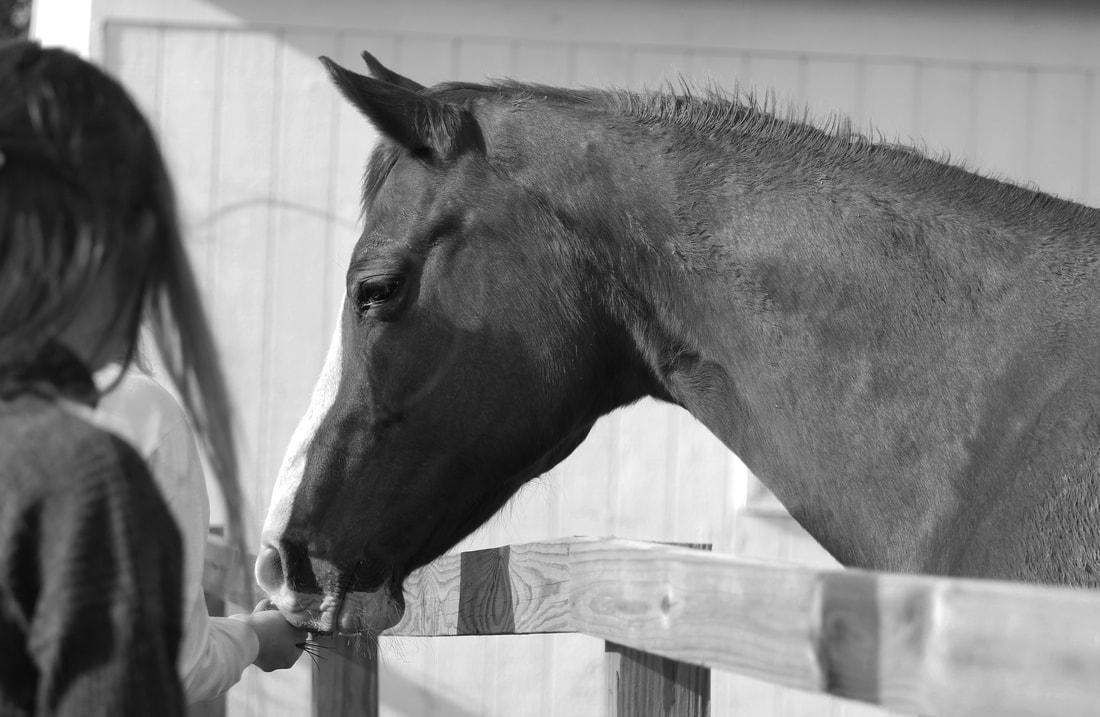
For our photo two assignment, I went with black and white. This horse has a very curious but ludic personality which made him an exciting subject to shoot with. I wanted to focus on having some kind of movement within my pictures, not too crazy though. I didn't want the subject to only stand and pose this time.
For this photo, my shutter speed was 1/400, my aperture 4.5 and my ISO 100.
For this photo, my shutter speed was 1/400, my aperture 4.5 and my ISO 100.
Here's the series of photos I took that I thought were nice, but just didn't make the cut.
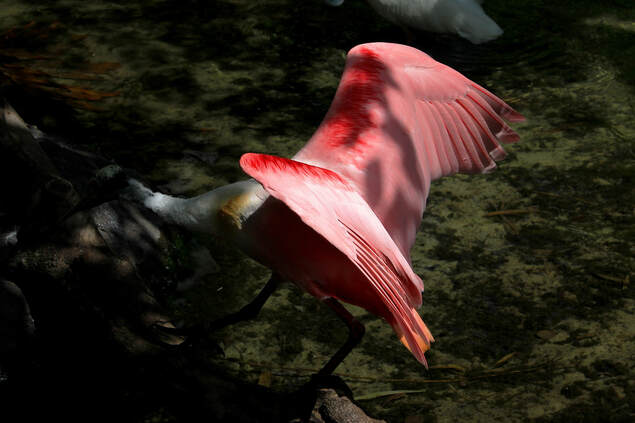
-Light Painting-
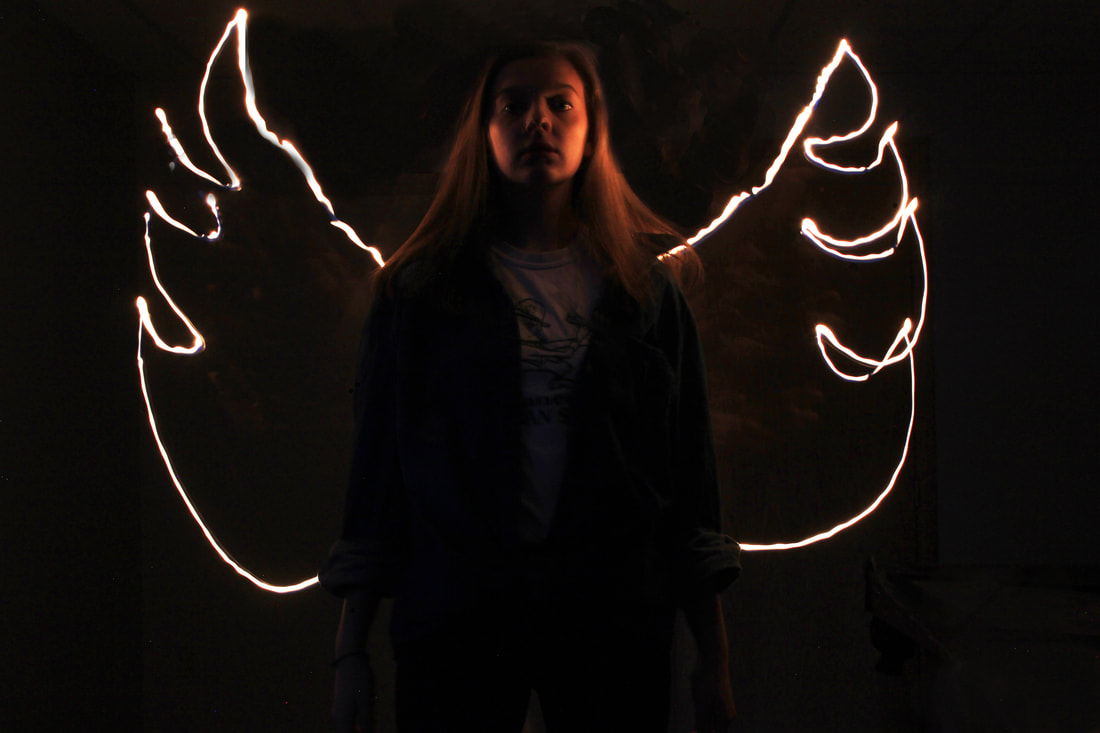
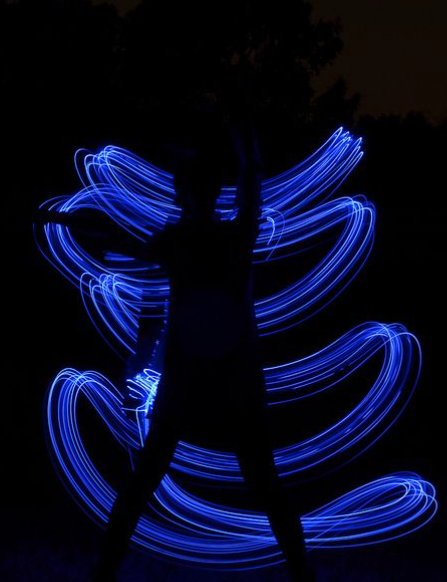
30" f/8 ISO 800
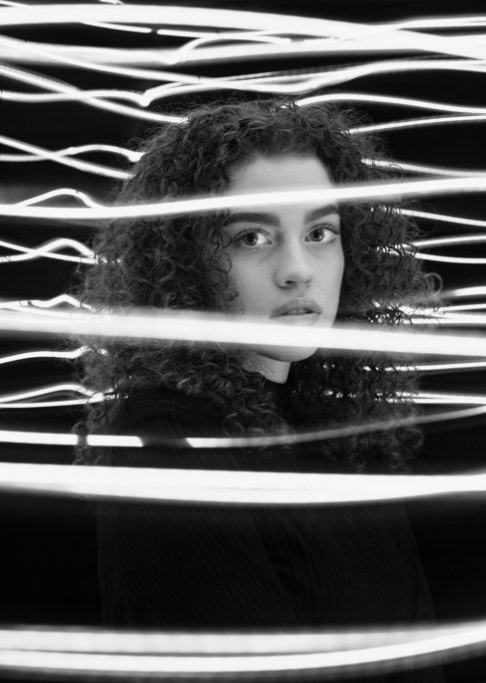
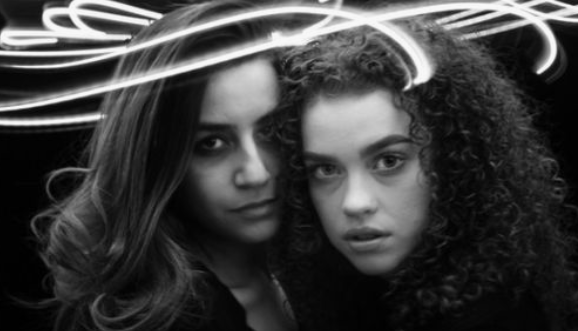
Though this photo is not like the ones I used for inspiration, some of the other photos were. For light painting, I set the shutter speed to thirty seconds, aperture to f/8 and the ISO to 800. I had to make sure she didn't move at all or she'd come out as a blur. While the camera was recording the photo, I used a lighter which created the fire. What was most hard about this is that you don't really know what the lines will look like until the photo is complete. This photo came out to be one of the better ones since she's not as blurred, the wings aren't perfect, but are relatively similar.
|
These are the other photos that I took, but didn't come out the way I wanted them to. Either the fire wasn't clear, the main subject wasn't clear, or you could see the person that was using the fire.
What I'd do differently next time is go outside when it's dark rather then inside. I'd also be more careful about where I stood and to make sure I wasn't being lit up too. |
|
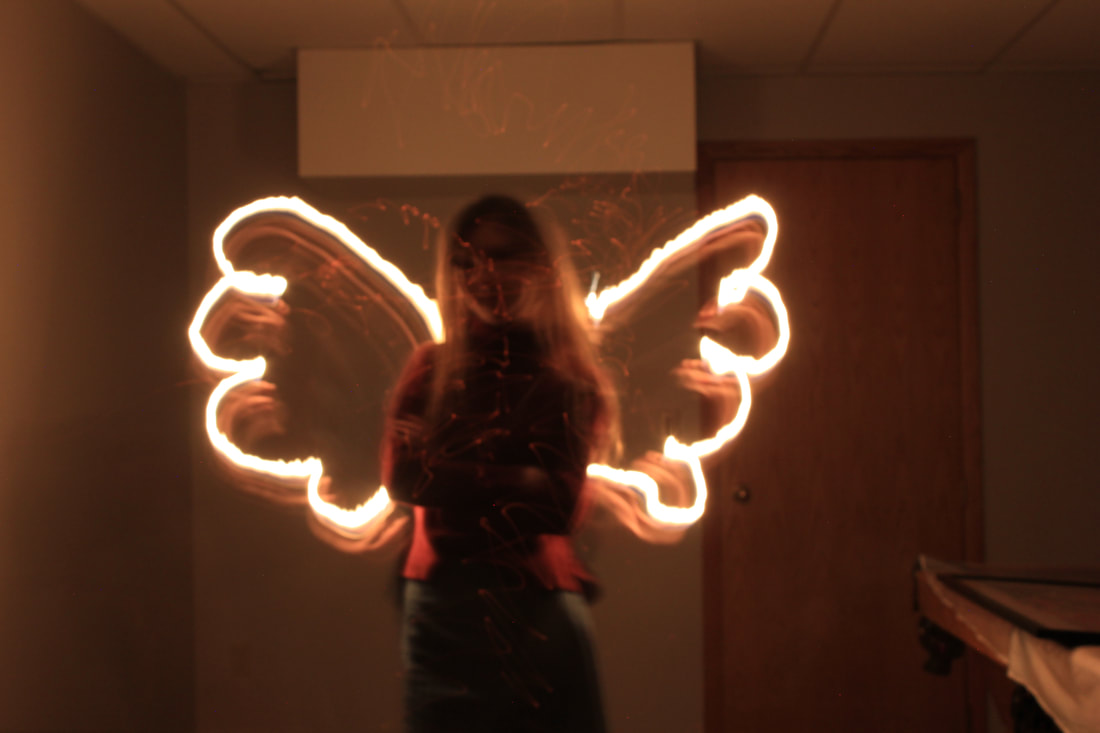
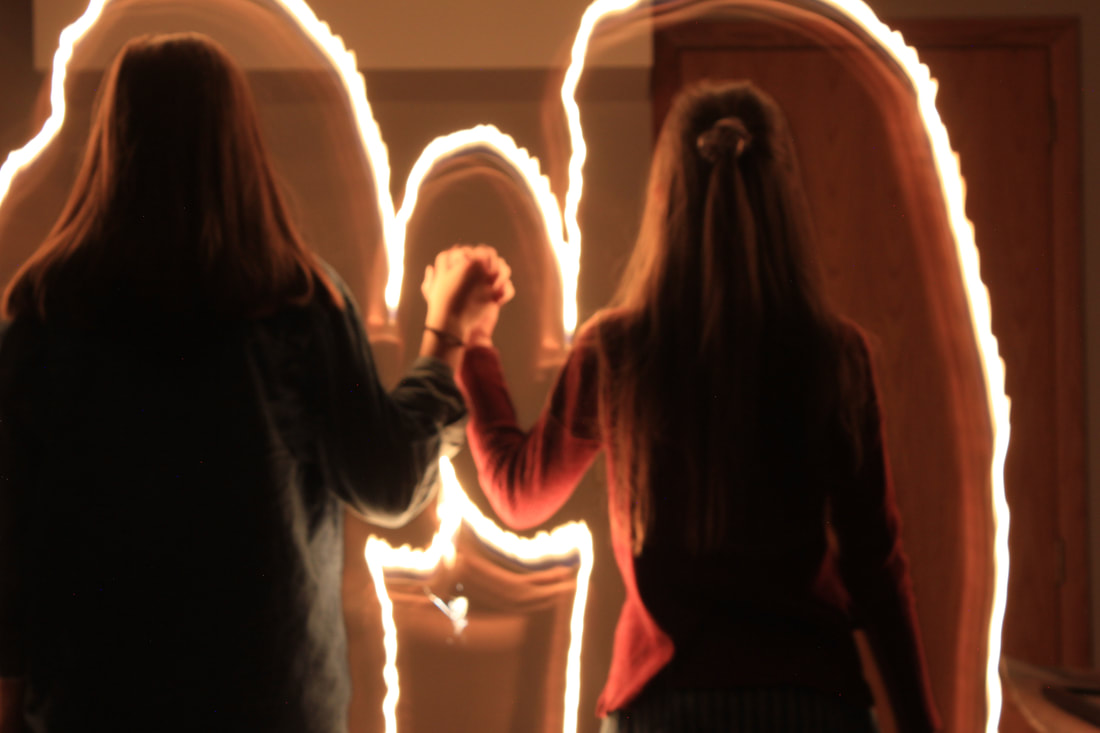
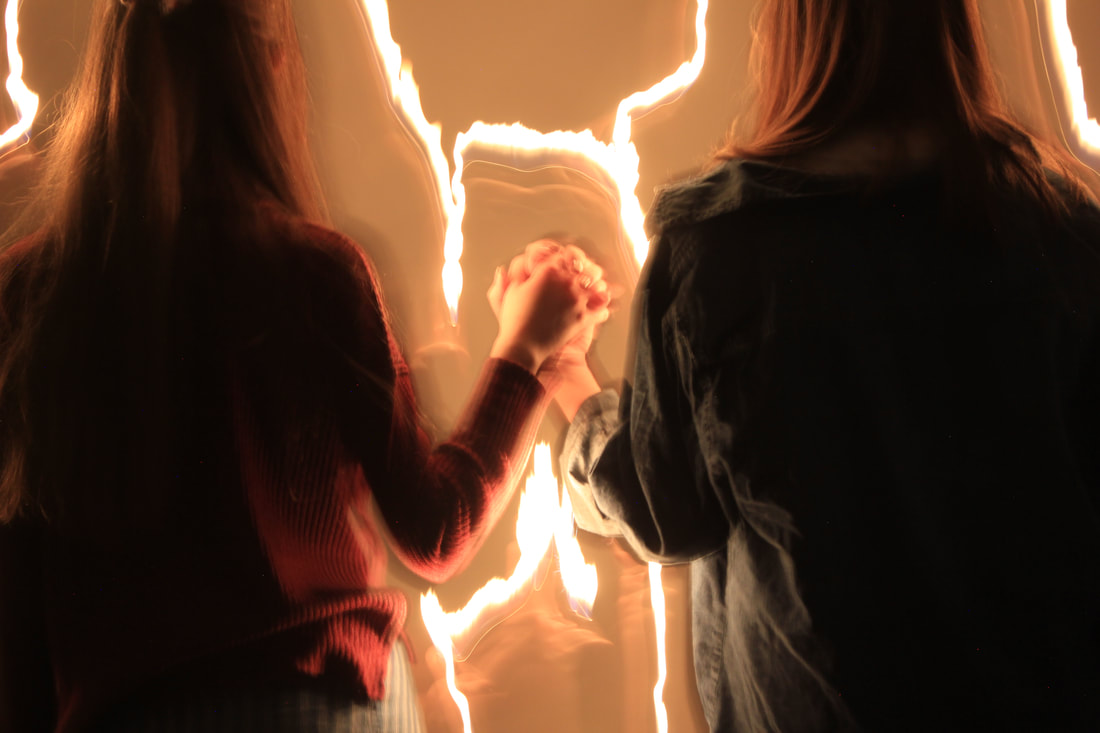
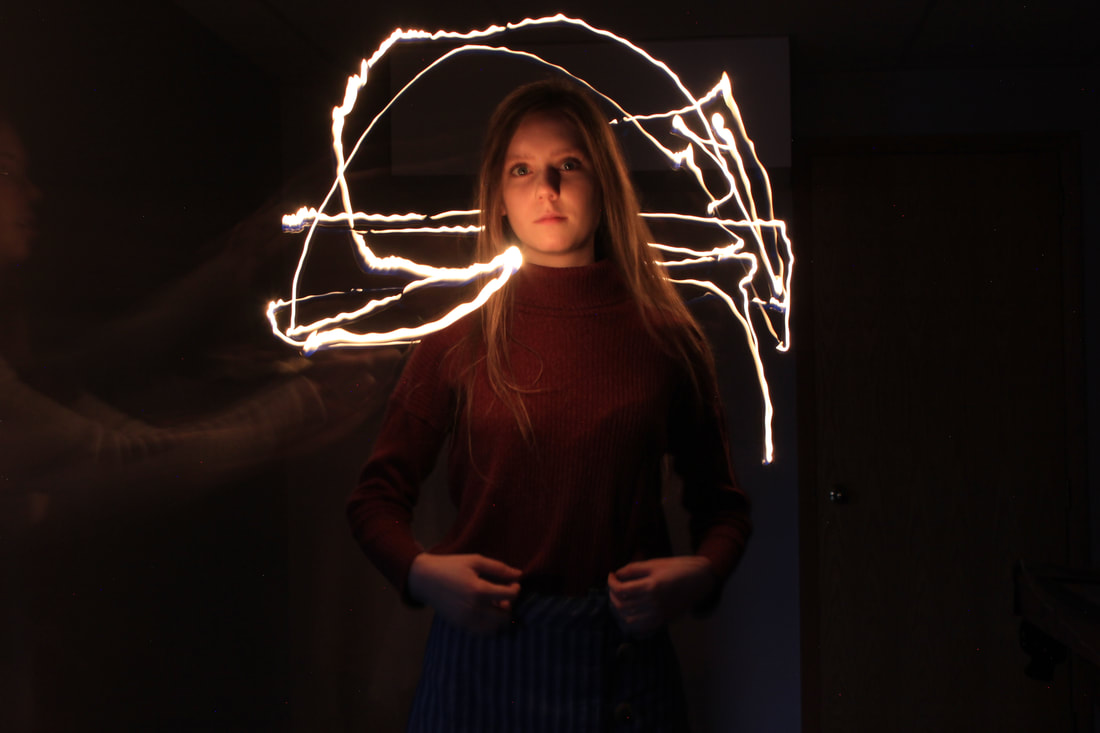
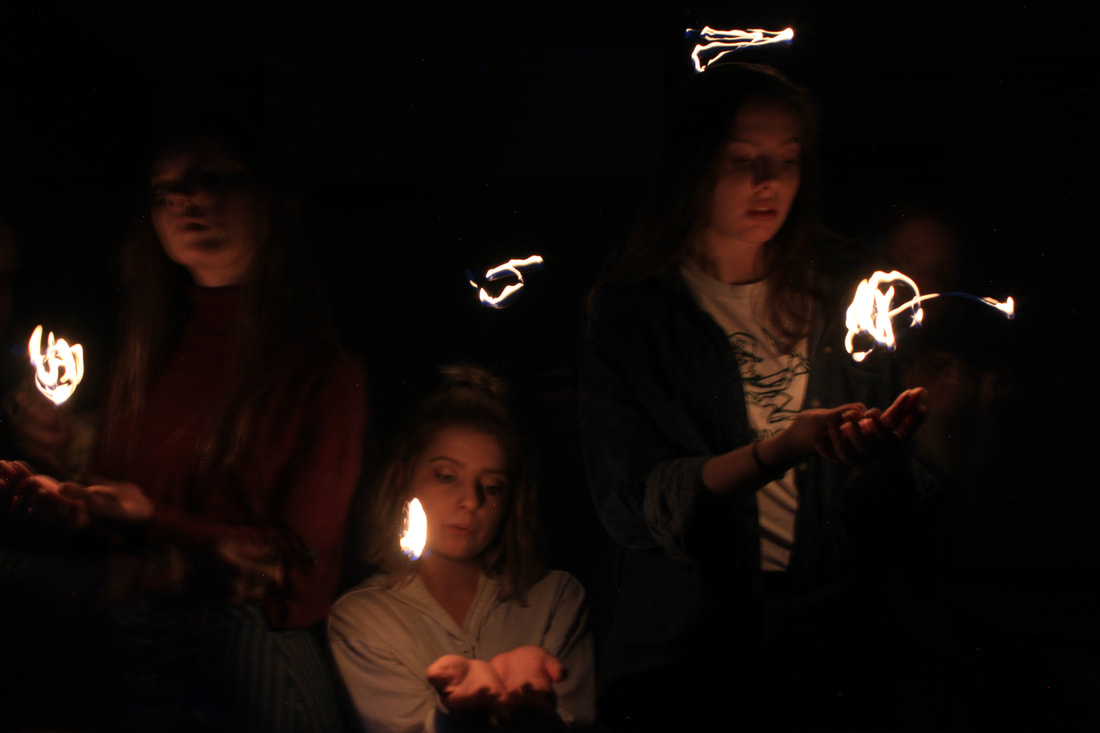
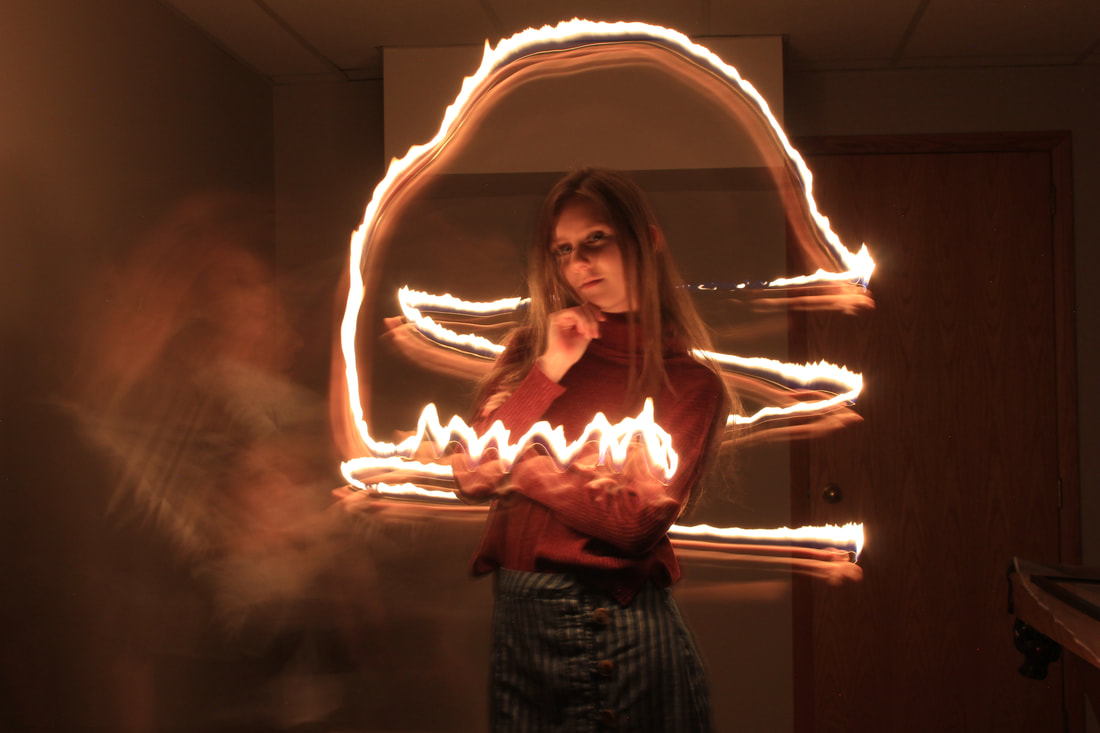
PHoto Inspirations:
For my first idea, Light Painting, I searched through a couple photos that I thought were really intriguing to look at. Here are some of them:
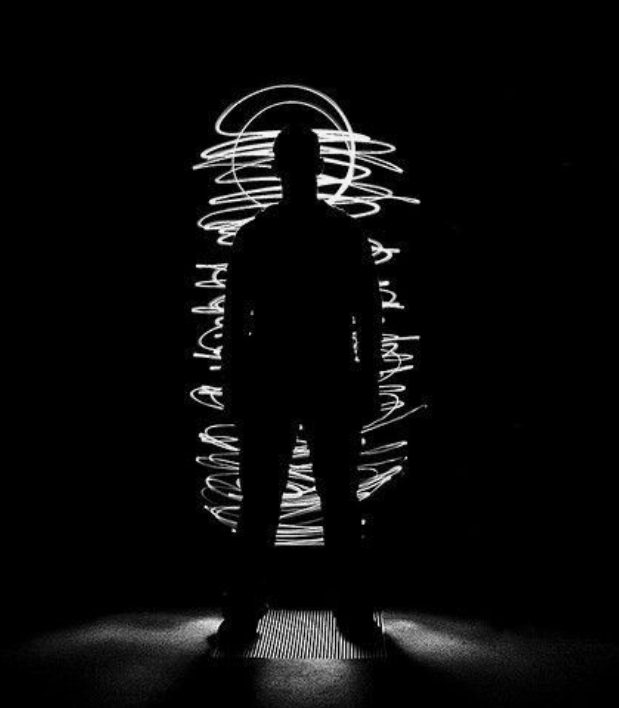
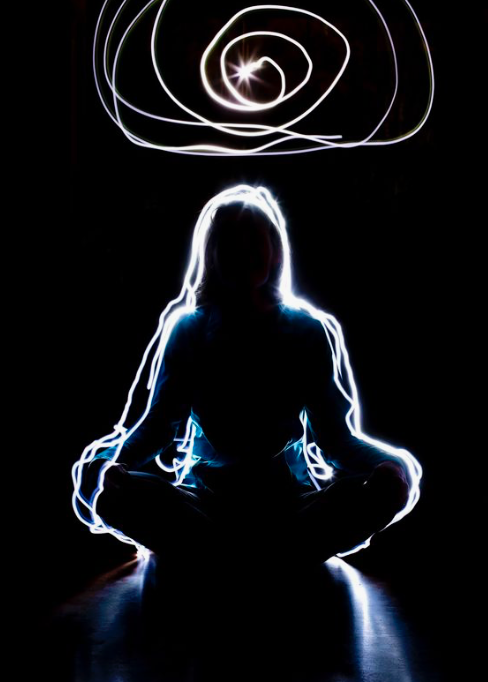
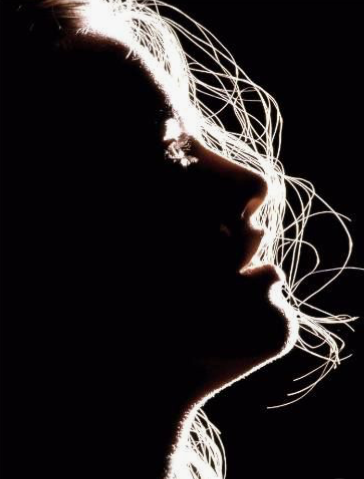
These are great examples that show different ways to use light painting. I'm hoping my photo's will turn out to be somewhat similar to these photographer's ideas.
-car photoshop-
From this assignment we were given a car to photoshop. Blackening out the background and getting rid of some glares was the goal.
Learning how to use the clone tool, quick selection and curves has been helpful. I'm hoping I'll be able to improve on using them with other photos.
Learning how to use the clone tool, quick selection and curves has been helpful. I'm hoping I'll be able to improve on using them with other photos.
Assignment description:
The main goal of this assignment is to fully understand the concepts of composition. Then, go out and take photos that would fit into each catagory. Photo composition is what makes photos look somehow more pleasing to the eye than pointing and shooting.
Composition One
Rule Of Thirds
1/250 sec. f8.0 ISO 250.
Texture
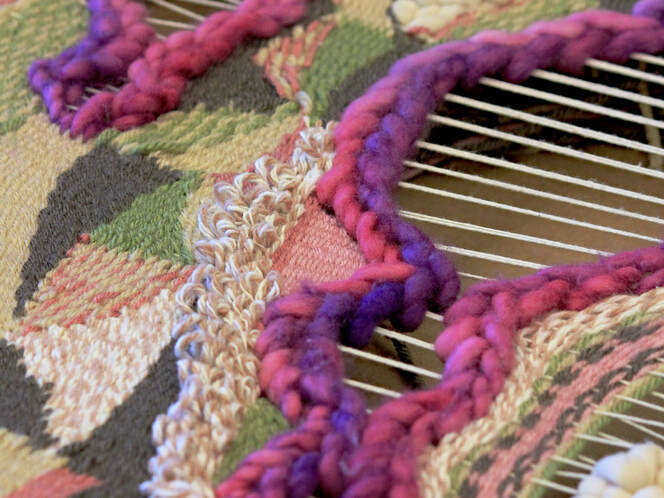
1/250 sec. f/5.0 ISO 1000.
Pattern
1/250 sec. f/4.0 ISO 500.
Depth of Field

1/250 sec. f/4.5 ISO 800.
Symmetry
1/250 sec. f/4.5 ISO 1000.
Lines
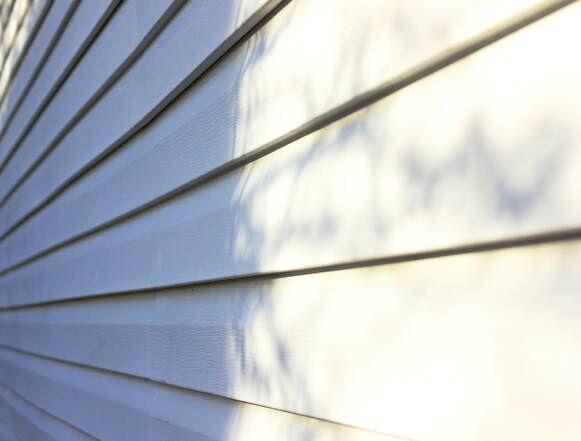
1/250 sec. f/4.5 ISO 100.
Composition Two
Framing
1/250 sec. f/9.0 ISO 250.
Perspective
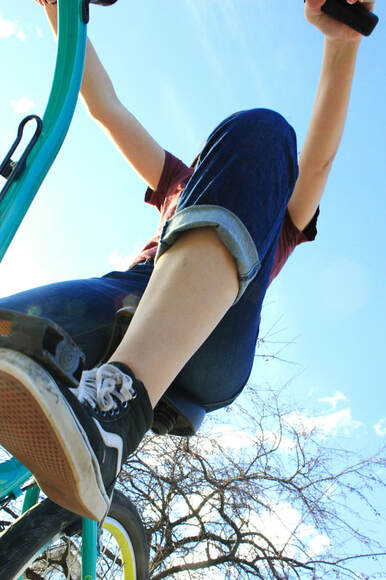
1/250 sec. f/14 ISO 1600.
Space
1/200 sec. f/5.6 ISO 800.
Balance
1/400 sec. f/10 ISO 320.
Color
1/250 sec. f/11 ISO 100.
What I learned from this..
From Comp. One & Two, I really learned the importance of scenery and planning. It takes a lot more than a good camera to make a great photo. Having the photo planned out or have several ideas about it, has helped my photos get better. That and having a specific catagory for them to match. To me, it makes the photo more meaningful as there's a purpose to fulfill rather than taking a photo that doesn't represent much. I think that I could definitely improve on knowing what angle to be in for each situation. With that, my photos would spark more interest and be more appealing.
